Hey there! Let me share a quick story. Last winter, I found a tiny café with “mochi waffles” on the menu. I’d never heard of them! But one bite? It was love at first taste. The crispy edges and soft inside were perfect.
I made them gluten-free by accident. I used rice flour instead of regular flour. Now, I’m totally hooked.
I’m not a pro chef, but these waffles are my new favorite. You don’t need fancy tools. Just a waffle iron and patience. Plus, they’re gluten-free, so everyone can enjoy them!
Today, I’ll share all my secrets. How to mix the batter right, get that perfect texture, and top them with amazing flavors. No weird ingredients or secret labs here. Just real home cooking magic.
Table of Contents
Table of Contents
What Are Mochi Waffles and Why You’ll Love Them
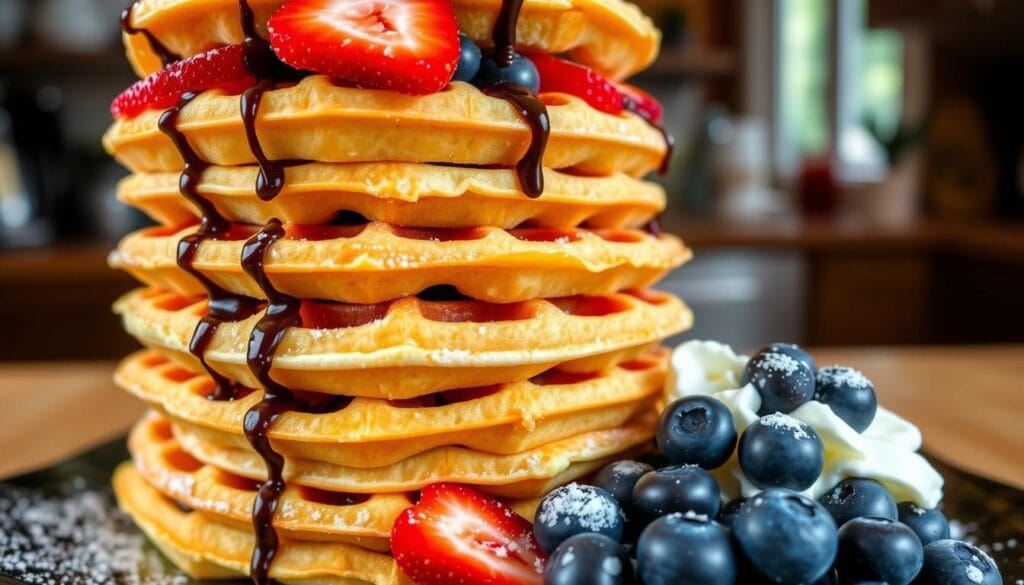
Ever wondered what happens when a fluffy waffle meets a chewy mochi? It’s magic! Mochi waffles are a mix of Japanese mochi and classic waffles. I first tried them at a food truck and now I’m hooked! They’re not just a trend; they’re a flavor explosion in your mouth. Ready to see why everyone loves them?
The Origin of Mochi Waffles
Mochi waffles are a mix of Japanese mochi and Western waffles. Traditional mochi uses glutinous rice, while waffles are a global breakfast favorite. Now, they’re combined into something new! I’ve tried different recipes, and it’s amazing how these waffles and mochi blend cultures in one bite.
Health Benefits of Gluten-Free Mochi
Here’s the cool part: mochi waffles are naturally gluten-free! They use glutinous rice flour, which is safe for gluten-free diets. It’s packed with fiber and protein. Let’s compare it to regular flour:
| Ingredient | Glutinous Rice Flour | Regular Wheat Flour |
|---|---|---|
| Gluten | 0% | Contains gluten |
| Fiber | 3g per serving | 1g per serving |
| Protein | More filling! | Less protein |
The Perfect Texture: Crispy Outside, Chewy Inside
These aren’t your grandma’s waffles! They have crispy edges like a cookie but are soft inside like a marshmallow. I’ve had mochi waffles with peanut butter and maple syrup. They stick to your teeth in a good way. Once you try them, you’ll see why they’re a hit at brunch!
The Perfect Mochi Waffle: A Unique Breakfast Experience
There’s nothing like biting into a mochi waffle recipe that’s crispy outside and soft inside. My mornings brightened up when I tried one with strong coffee. The mix of textures is magical.
It’s like a chewy rice cake and a waffle combined. Your taste buds will love it.
My weekend brunch game is now on a whole new level. Friends love these waffles and ask for the secret. I share my tips: let the batter rest for 30 minutes. It makes the texture amazing.
And yes, rushing is a no-no. Pro tip: Make a double batch and freeze extras. Need a quick breakfast? Just toast one!

| Aspect | Traditional Waffles | Mochi Waffles |
|---|---|---|
| Texture | Crispy, airy layers | Crispy edge, gooey chewy center |
| Fullness | Gone by 10 AM | Keeps me fueled ‘til lunch! |
| Flavor | Sweet, buttery | Rice-kissed sweetness with a twist |
Pro tip: Top with matcha powder and honey for an Asian flair, or classic maple syrup for simplicity. My favorite weekday hack? Mix in chocolate chips last minute. It makes mornings fun.
These aren’t just breakfast waffles. They’re the “wow” factor that makes mornings special. Ready to try the recipe? Your taste buds will thank you!
Essential Ingredients for Gluten-Free Mochi Waffles
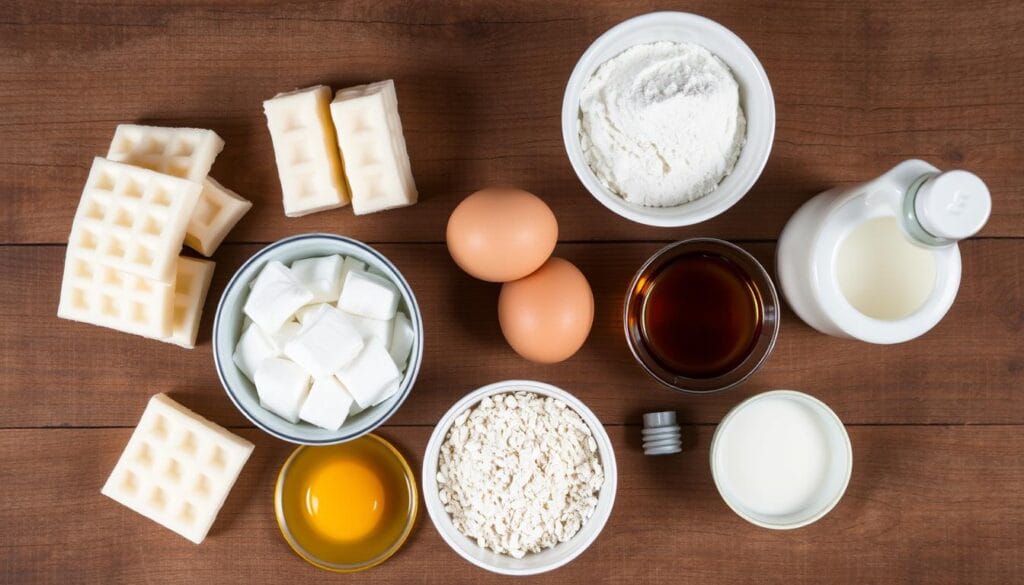
Let’s explore the pantry must-haves for your next gluten-free mochi batch! Finding the right flour was a journey. I visited three stores before finding the perfect glutinous rice flour. Here’s how to avoid my mistakes.
Understanding Glutinous Rice Flour
This flour is the key to mochi waffles with a chewy center. It’s gluten-free, despite its name. I found it at an Asian market’s international aisle. Online orders are also an option.
Don’t confuse it with regular rice flour. Your waffles will be crumbly and disappointing.
Sweetener Options for Your Mochi Batter
| Sweetener | Taste | Texture |
|---|---|---|
| Honey | Warm, floral | Moist but less chewy |
| Maple Syrup | Deep, earthy | Perfect balance |
| Granulated Sugar | Mildly sweet | Best for classic mochi texture |
Dairy and Dairy-Free Alternatives
- Almond milk: Light and nutty, great for a fluffier waffle. If you’re looking for a completely dairy-free waffle option, check out this recipe for waffles without milk!
- Oat Milk: Adds subtle creaminess without overpowering the rice flour.
- Cow’s Milk: Classic choice for a familiar flavor boost.
I tried all three! Oat milk is the winner for my family’s favorite mochi waffles. It keeps the texture perfect.
Optional Add-ins for Extra Flavor
My kids love gluten-free mochi with vanilla extract. But you can get creative! Add a tsp of matcha for green tea flavor or cocoa powder for dessert. Cinnamon is a hidden gem that enhances the batter.
Remember, start small with add-ins. Too much can mess up the dough!
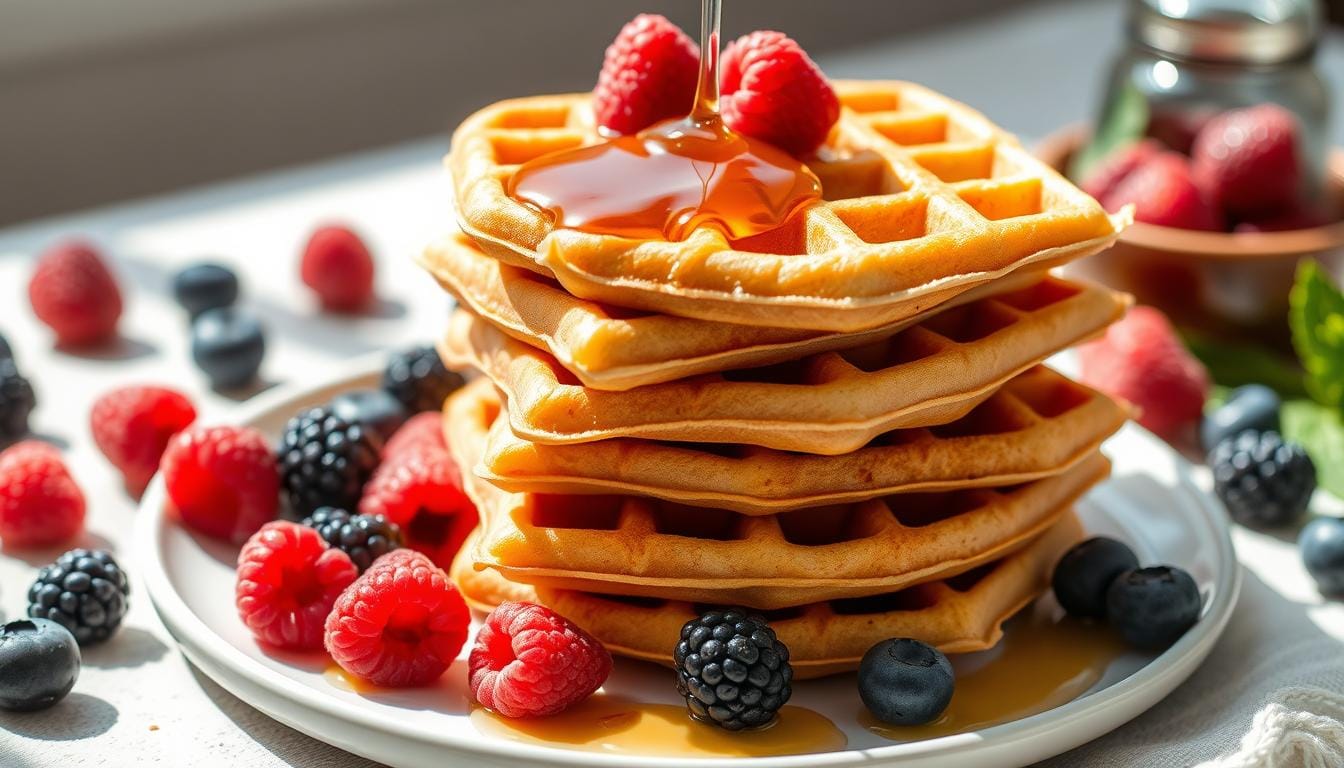
Easy Gluten-Free Homemade Mochi Waffles
Ingredients
Equipment
Method
- In a bowl, whisk together glutinous rice flour, baking powder, salt, and sugar.
- In another bowl, whisk together milk, egg, melted butter, and vanilla extract.
- Gradually combine wet and dry ingredients, stirring until smooth and lump-free.
- Preheat your waffle iron to medium-high heat and lightly grease with oil or butter.
- Pour batter into the center of the waffle iron and spread evenly. Close the lid and cook until golden brown and crispy (about 4-5 minutes).
- Remove waffle and let it cool slightly before serving. Repeat with remaining batter.
Required Equipment for Making Mochi Waffles at Home
Let’s talk tools! First, you need a waffle iron. I’ve tried everything from a $15 thrift store find to a $80 Belgian-style model. Both work great!
Belgian irons make deep grids for that chewy texture. But, traditional flat irons also work well if you have one.
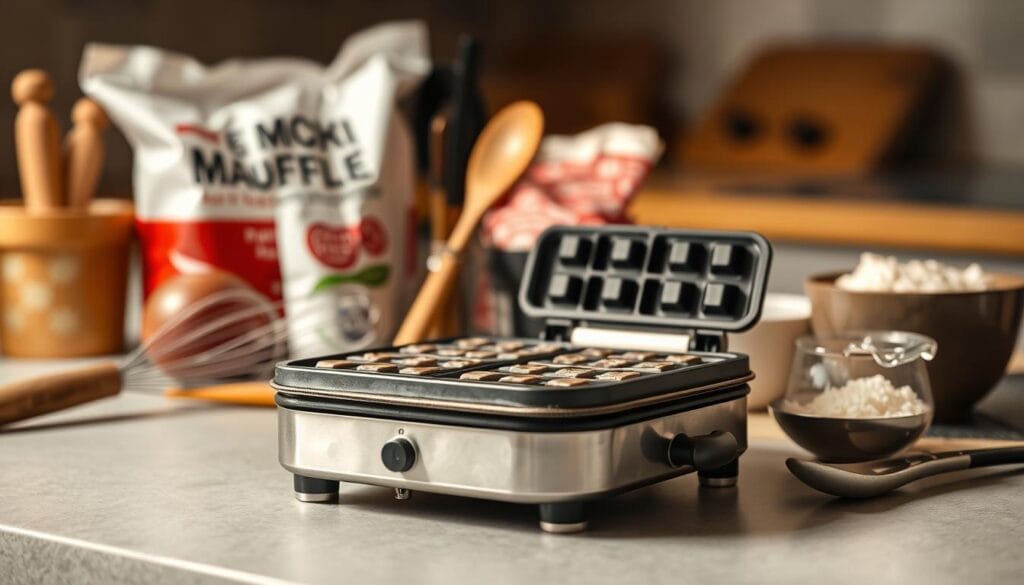
- Waffle Iron: A non-stick surface is important, my Cuisinart has never let me down.
- Measuring cups/spoons: Getting the right ratios is key for mochi.
- Bowls + Whisk: A big bowl and a strong whisk (or stand mixer) are needed for mixing.
- Spatula: Use a heat-safe spatula to flip waffles without breaking them.
My biggest mistake was skipping a sifter for glutinous rice flour. Lumpy batter made my waffles hard. Remember, straining flour through a sieve helps avoid clumps.
Blenders are optional but can help with smooth batter. I use my handheld immersion blender when I’m in a hurry. You don’t need special gadgets for homemade waffles. The mochi waffle recipe works best with what you already have.
Step-By-Step Mochi Waffle Recipe
Let’s dive into the mochi waffle recipe I’ve perfected after a few kitchen experiments! First, gather your ingredients, no fancy tools needed, just patience. Here’s how I do it:
Preparing the Mochi Batter
Start by whisking dry ingredients: mochi flour, baking powder, and a pinch of salt. Add warm almond milk and melted coconut oil. Mix until the waffle batter flows like lava, thick but smooth enough to drip slowly off the spoon. If it’s too thick? Add a splash more milk. Too runny? A spoonful of flour saves the day! Pro tip: Don’t overmix, it’s okay if a few lumps linger.
Waffle Iron Temperature and Timing Tips
Preheat your iron to medium-high (375°F works best). If you’re unsure, check out this guide for heat hacks. Pour the batter into the center, spread gently, and close the lid. Steam is key! When it slows down, that’s your cue to watch closely. First try? My first batch burned because I forgot to set a timer, lesson learned!
How to Know When Your Mochi Waffles Are Done
Look for golden-brown grids and a springy center. Gently press the waffle with a spatula, if it bounces back, it’s ready! The edges should crisp up but stay chewy inside. If unsure, flip it and check the underside, it’ll shine when done. And remember: burnt edges? That’s just my “tasting sample” excuse!
Delicious Variations and Toppings for Your Mochi Waffles
Ready to elevate waffles and mochi? Let’s explore toppings that will make your taste buds dance! My kitchen has become a lab for new combos. These are my top picks.
Classic American Toppings
Think syrup, berries, and cozy combos that feel like a hug. Maple syrup and fresh strawberries are perfect together. But the real winner? Butter melted with cinnamon sugar on warm waffles. It’s a hit with my kids!
Pro tip: Keep toppings simple to let the chewy dough shine.
Asian-Inspired Flavor Combinations
Try something new with your toppings! Dust matcha powder over whipped cream. Or, add red bean paste (try Otsuka Anko) or black sesame sprinkles for a nutty crunch.
The first time I paired mochi waffles with sweetened condensed milk and fresh mango? *chef’s kiss*. Find these ingredients at Trader Joe’s or local Asian markets!
Creating the Ultimate Mochi Waffle Corner
Make breakfast a feast with your own mochi waffle corner! Set out mini bowls of toppings like coconut flakes, chocolate drizzle, or a DIY sauce station. Use cute containers and a colorful tablecloth for a photo-worthy setup.
Guests can grab what they love, no forks needed, just hands and sticky fingers. It’s the waffles and mochi party you didn’t know you needed!
Storing and Reheating Your Homemade Mochi Waffles
Let’s talk storage so your homemade mochi waffles stay chewy and dreamy for days, or months!, to come. I’ve definitely ruined a batch by reheating them wrong, so let’s learn from my kitchen adventures.
First, let those babies cool completely on a wire rack. Moisture’s their enemy, so skip the airtight containers until they’re dry. Once cooled, slide them into a freezer-safe bag or container. For the fridge, they’ll last 3 days max. Freeze? Up to 2 months, just lay them flat on a baking sheet first so they don’t stick together! Pro tip: Stack ‘em in the freezer between parchment paper.
When you’re ready to enjoy, here’s what works best:
- Refrigerated waffles: Toast or bake at 350°F for 5-7 mins until crisp.
- Frozen waffles: No need to thaw! Pop straight into the toaster or oven. Microwaves? Avoid them, they turn my batches soggy every time.
Trust me, the toaster wins for that perfect golden-brown exterior.
My top hack? Always freeze in single layers first. I batch-cook on weekends and stash extras, I’ll never go back to store-bought again! Keep them in labeled containers, and grab ‘em anytime for a quick breakfast. No more “meh” mornings, promise!
Conclusion: Enjoy Your Homemade Gluten-Free Mochi Waffle Adventure
First tries at gluten-free mochi waffles can feel like a science project. But, the crispy-chewy magic is worth the effort. I was nervous at first, but now my family loves them so much.
These waffles are more than a recipe; they’re a flavor journey. You can use maple syrup or matcha powder to make them your own. Got questions? Just ask in the comments. And don’t worry if they’re a bit doughy at first. Just try again and enjoy the golden-brown edges.
Post your creations on social media and tag this guide. Seeing your mochi waffles with berries or Nutella brightens my day. Cooking is about sharing, so go ahead and show off. These waffles are a blank canvas waiting for your creativity. I’m excited to see what you make!
FAQ
What are mochi waffles?
Mochi waffles are a tasty mix of Japanese mochi and waffles. They have a chewy inside and a crispy outside. This makes them a delicious breakfast treat you’ll love making again and again!
Are mochi waffles gluten-free?
Yes! Mochi waffles use glutinous rice flour, which is gluten-free. This makes them great for people with gluten sensitivities or dietary restrictions.
How do I make the perfect mochi waffle batter?
First, mix the dry ingredients like glutinous rice flour and baking powder. Then, slowly add the wet ingredients. The batter should be smooth and thick, like cake batter. If it’s too thin, add a bit more flour.
What toppings work best for mochi waffles?
You can use many toppings! For a classic taste, try maple syrup and fresh berries. For Asian flavors, matcha cream or sweetened condensed milk with mango are great. You’ll want to try different ones!
Can I make mochi waffles ahead of time?
Yes! You can make the batter the night before and keep it in the fridge. If you bake a batch, store them in an airtight container. They freeze well, so make extra for quick breakfasts.
What equipment do I need to make mochi waffles?
You’ll need a waffle iron and mixing bowls. Even a simple waffle iron works well. Just make sure it gets hot for a crispy outside.
How do I reheat leftover mochi waffles?
Reheat them in the oven or toaster, not the microwave! Heat them at a medium temperature for a few minutes. They’ll crisp up like new!
Can I customize my mochi waffle recipe?
Definitely! Add vanilla, cocoa powder, or matcha to the batter for different flavors. Don’t be afraid to try new things!
Where can I find glutinous rice flour?
You can find it in Asian grocery stores or online. If you can’t find it, check the international aisle of your local supermarket. Remember, “glutinous” means chewy, not gluten!
