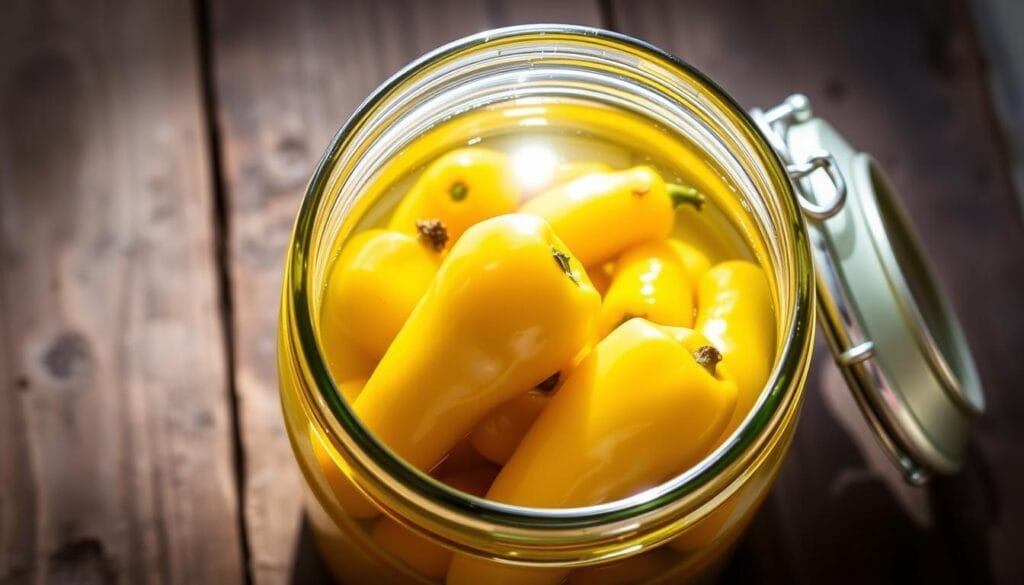
Hey there, kitchen adventurers! My first batch of pickled banana peppers was a mess. Vinegar splattered everywhere, peppers were too spicy, and the jars wouldn’t seal. But now, I’m hooked! Those tangy, crunchy pickled banana peppers are perfect for tacos and Bloody Marys. You don’t need fancy equipment, just a pot, jars, and patience.
I’ve tried many recipes, so I’ll save you the trouble. Ready to make those mild peppers into flavor bombs that beat store-bought ones?
Table of Contents
Table of Contents
What Makes Pickled Banana Peppers So Special?

Pickled banana peppers are more than a side dish. They’re a flavor explosion! When I first tried how to pickle banana peppers at home, I was amazed. These peppers aren’t just mild; they’re flavor enhancers.
Their sweet-tangy taste (0-500 Scoville) goes great with burgers or salads. That’s why they’re my go-to in the pantry!
Flavor That Pops
- Sweetness from natural sugars in fresh peppers
- Crisp texture from vinegar’s tangy punch
- Customizable spice levels (no weird additives!)
Nutrition You’ll Crave
| Nutrient | Amount per 1/4 cup |
|---|---|
| Vitamin C | 18% of daily needs |
| Vitamin A | 12% of daily needs |
| Fiber | 1g (no empty calories!) |
| Calories | Only 15 per serving |
Why Make Them Yourself?
Last summer, I made my own batch and compared it to store-bought. The homemade version was way better. It had no mystery ingredients and I could adjust the brine to my liking. Plus, the crunch was amazing, like biting into an apple.
When you make them yourself, you avoid preservatives and artificial colors. You can also adjust the sweetness and spice to your taste. It’s also cheaper to make in bulk.
These little peppers are flavor ninjas. Once you learn how to pickle banana peppers, you’ll never buy jars again. Ready to start? Let’s get into the details!
Essential Ingredients for Perfect Pickled Banana Peppers
Want to make pickled banana peppers that taste amazing? It all starts with the right ingredients. I’ve tried many times, and I’ve learned a lot. Here’s what you need to know!

Selecting the Best Banana Peppers
Fresh peppers are key. Visit the farmer’s market in August-September for the best. Choose peppers without soft spots to avoid mushiness. Medium-sized peppers fit well in pint jars.
Pro tip: Avoid extra-large peppers. They take longer to pickle and lose their crunch.
Vinegar Options That Make or Break Your Pickle
- White vinegar: Classic sharpness for a no-fuss pickled banana peppers recipe.
- Apple cider vinegar: Adds subtle apple sweetness without overpowering.
- Rice vinegar: Light and tangy, perfect for Asian-inspired twists.
Spices and Herbs That Pack the Punch
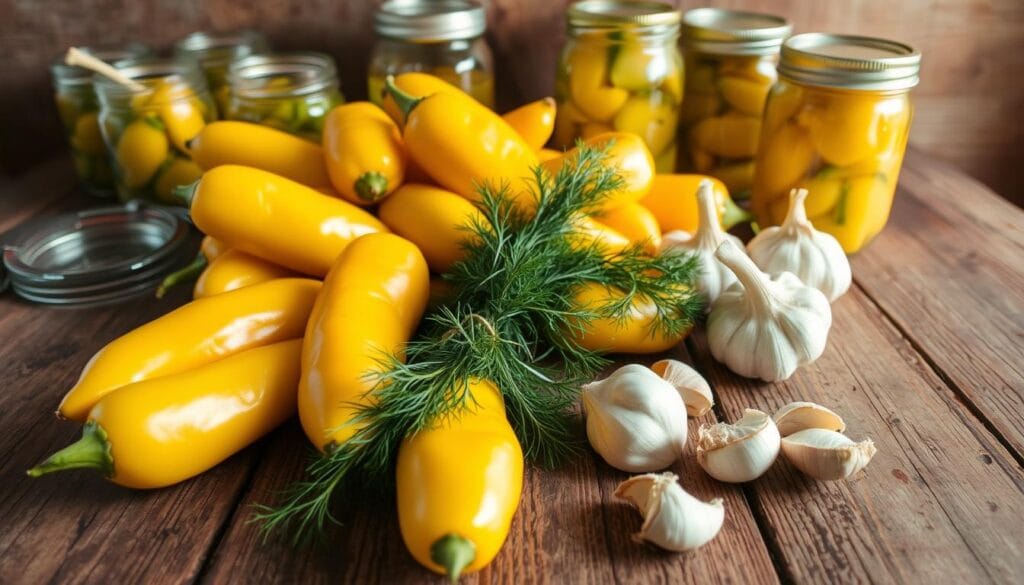
My favorite mix is garlic, mustard seeds, and dill. Add red pepper flakes for a spicy kick! Old spices don’t work well. Use fresh jars for the best flavor.
Sugar Alternatives That Rock
Don’t use refined sugar. Honey, maple syrup, or coconut sugar are better. A little brown sugar adds depth without being too sweet.
Now you know the secret to making great pickled banana peppers. No more guessing. Just follow these tips and enjoy your delicious homemade pickles!
Step-by-Step Guide to Making Pickled Banana Peppers at Home
Let’s dive into how to pickle banana peppers like a pro! I’ve burned my hands more times than I’d like admitting. But trust me, this method works. Start by gathering clean jars (sterilize them in boiling water!), a big pot, and a plate to weigh down peppers later.

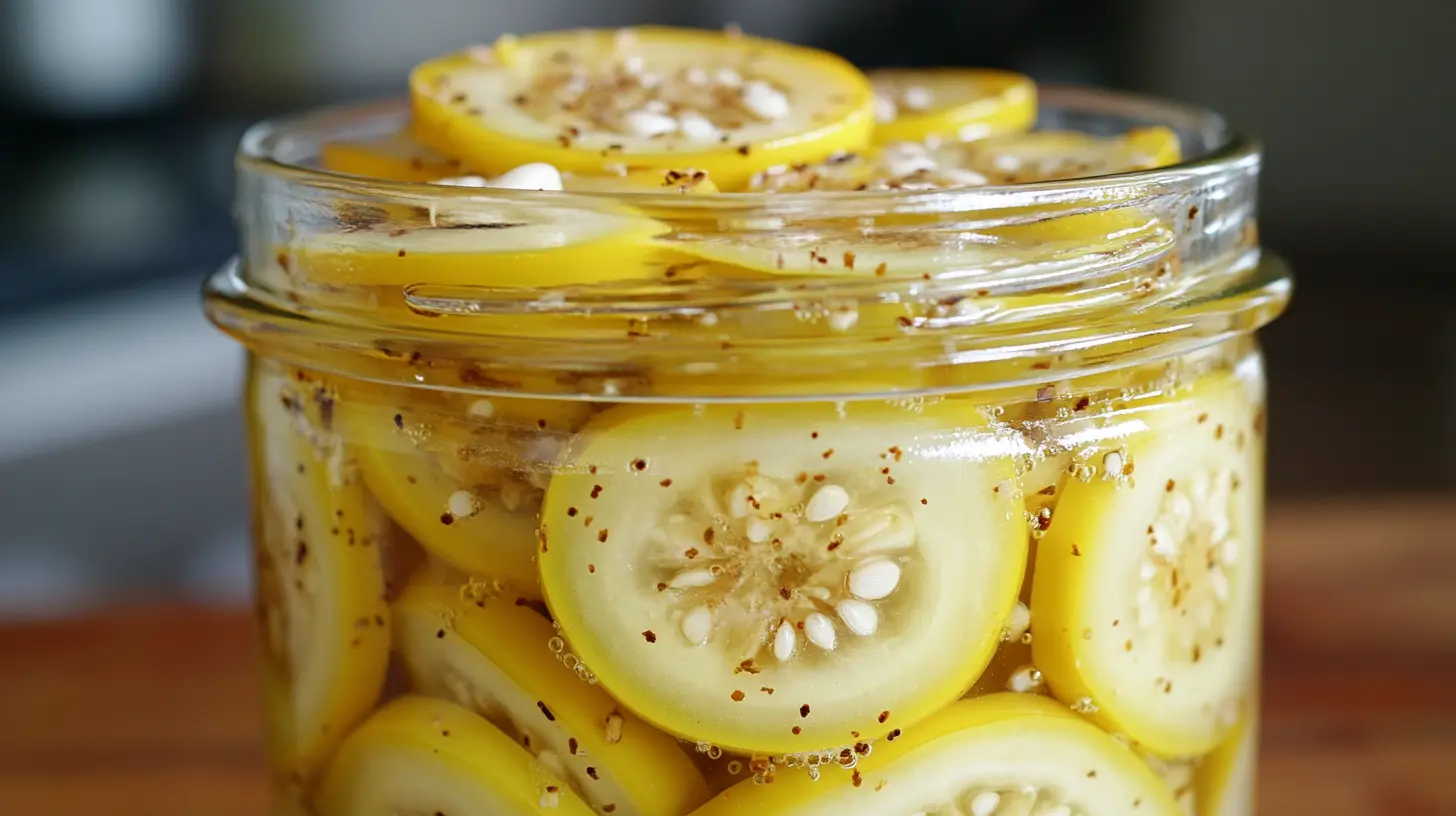
- Prep peppers: Slice ’em into thin rings, thicker slices take longer to pickle. Wear gloves! Capsaicin is a sneaky spice.
- Simmer the brine: Combine 1 cup white vinegar, 1 cup water, 2 tbsp salt, and 1 tbsp sugar in a pot. Bring to a boil, this kills bacteria and ensures that perfect crunch!
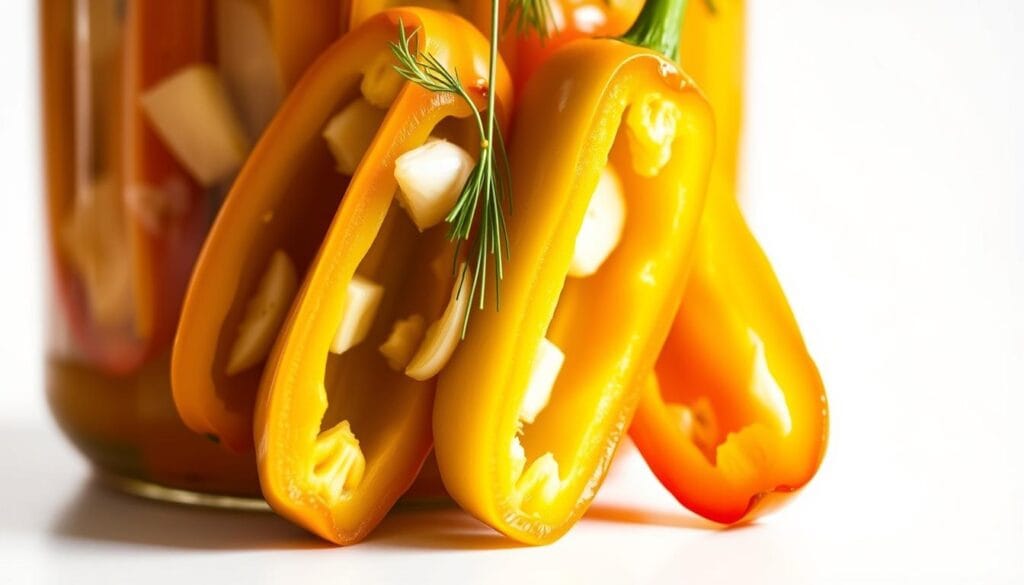
- Fill jars: Pack peppers into jars, add garlic cloves and red pepper flakes (optional). Pour hot brine over, leaving ½ inch headspace.
- Submerge peppers: Place a small plate on top of peppers to keep them under liquid, my game-changing hack!
- Cool safely: Let jars sit undisturbed for 24 hours, then store in the fridge. Wait at least 2 days before eating for full flavor.
| Brine Ingredients | Amount |
|---|---|
| White vinegar (5% acidity) | 1 cup |
| Water | 1 cup |
| Kosher salt | 2 tbsp |
| Sugar (or honey) | 1-2 tbsp |
Mistakes? I’ve got ’em all! If peppers float? Add more brine or use a heavier plate. Cloudy liquid? You might’ve skipped sterilizing jars. Don’t panic! Just toss and start fresh. Now go make your how to make pickled banana peppers masterpiece, your tacos will thank you!

Pickled Banana Peppers
Ingredients
Equipment
Method
- Sterilize your jars by boiling them in water for 10 minutes. Set aside to dry.
- Slice banana peppers into rings. Wear gloves to avoid skin irritation.
- In a saucepan, bring vinegar, water, salt, and sugar to a boil until salt and sugar dissolve.
- Pack sliced peppers tightly into jars. Add garlic, mustard seeds, dill, and red pepper flakes if using.
- Pour hot brine over peppers, leaving ½ inch headspace. Tap jars to release air bubbles.
- Seal jars with lids. Let cool at room temperature for 24 hours, then refrigerate.
- Refrigerator pickles are ready after 48 hours and last up to 2 months. For canning, process in boiling water for 10 minutes.
Notes
Quick and Easy Pickled Banana Peppers Recipe
Want to make those banana peppers tangy and tasty? I’ve got a pickled banana peppers recipe that’s perfect. It’s great for any time, whether you need snacks for a week or a year. It’s like getting a big hug from your kitchen.

Traditional Refrigerator Pickled Peppers
Begin with 2 pounds of firm banana peppers, cleaned and sliced if you like. Mix 2 cups of white vinegar, 1 cup water, 3 tbsp pickling salt, and ¼ cup sugar in a pot. Heat it up, then add your favorite spices like mustard seeds, dill, and garlic.
Pour the hot banana peppers pickled brine over the peppers in jars. Let it cool, then refrigerate for 24 hours. They’ll last two months, getting better every day!
Water Bath Canning Method
For canning, use the same brine but adjust the amounts for safety. Use 1 cup vinegar and 1 cup water per pint jar. Process jars in boiling water for 10 minutes to seal them right. Remember, safety first!
My first time canning, I forgot to check the seals. That was a lesson! These can last a whole year, perfect for winter.
Customize Your Brine!
- Mediterranean Magic: Oregano + garlic + a bay leaf
- Southwest Heat: Cumin, coriander, and a cilantro sprig
- Sweet & Sunny: Turmeric, celery seed, and a dash of honey
Ever add too much spice? I once made “fire peppers” with too much red flakes. My hubby is always teasing me about them! Start with the right amounts, but feel free to adjust once you get the hang of it.
Creative Ways to Use Your Pickled Banana Peppers
Now that your jars are full of tangy pickled banana peppers, it’s time to show them off! They add a burst of flavor to everything from lunches to parties. Here’s how I’ve made them stars in the kitchen:
Sandwiches & Burgers
Give your sandwiches a banana peppers pickled twist! My veggie burger gets a crunchy kick from sliced peppers, but they’re also amazing in a rotisserie chicken sandwich for that extra tangy crunch. Try these ideas:
- Veggie burger: peppers, avocado, and spicy mayo
- Grilled cheese: layer them between cheese for a zesty melt
- Wrap: stuff into a turkey wrap with spinach and mustard
Salad Magic
Salads get a secret ingredient boost from these peppers. My pickled banana peppers vinaigrette (mix brine with oil and mustard) is a hit. Try these:
- Top green salads with diced peppers
- Stir into pasta salads for tang
- Blend into tzatziki for a Greek twist
Mediterranean Flavors
Bring Mediterranean flair with them! My feta-pepper dip (crumbled cheese + minced peppers) is a party favorite. Use them in:
- Hummus bowls topped with peppers
- Pita chips dipped in pepper-infused yogurt
- Stuffed peppers in tabbouleh
Mexican & Southwestern
Southwest dishes get a brightness boost. I toss them into tacos and chili, or level up your loaded Carne Asada Fries with a handful of tangy rings. Try these:
- Quesadillas with cheese and peppers
- Black bean salad with diced peppers
- Guac topper for an extra crunch
From breakfast scrambles to pizza toppings, these banana peppers pickled are a pantry staple. Experiment and let them surprise your taste buds!
Conclusion: Enjoying Your Homemade Pickled Banana Peppers Year-Round
Remember my panic when my three jars ran out by winter? Don’t repeat my rookie move! Stock up when peppers flood farmers’ markets. Follow the how to pickle banana peppers steps in this guide to turn cheap summer veggies into pantry treasures. My fridge pickles stay crisp for weeks, but canned batches last months, store them right!
Keep refrigerated jars in the coldest shelf and canned ones in a cool, dark cupboard. Need ideas? My go-to is adding tangy slices to tacos or blending the pickled banana peppers recipe into creamy salad dressings.
These jars make great gifts too! Wrap labels with twine and a handwritten note for holiday swaps. When winter hits, open a jar to brighten soups or top grilled cheese. Every bite reminds me why I fell in love with canning, no store-bought stuff compares to your own kitchen creations.
Don’t forget the seasonal guide: use the water bath method in peak season and quick-pickle smaller batches later. Your future self will cheer when that first jar gets cracked open in February. Happy pickling, your taste buds (and fridge) will thank you!
FAQ
How do I pick the best banana peppers for pickling?
Choose firm, bright yellow banana peppers without blemishes. They should be medium-sized for easy packing. Buy them in mid to late summer for freshness and savings!
What type of vinegar should I use for pickling banana peppers?
Use white vinegar for a sharp tang or apple cider vinegar for a fruity taste. Rice vinegar is great for a milder, sweeter flavor.
Can I customize the flavor of my pickled banana peppers?
Yes! Add different spices, herbs, or sugar alternatives to make your own flavor. Try garlic, dill, or chili flakes for a unique kick!
How long do homemade pickled banana peppers last?
Refrigerator pickled banana peppers last about 2 months. Those canned via water bath canning can last up to a year in a cool, dark place.
What are some creative uses for pickled banana peppers?
Use them to enhance sandwiches, burgers, and salads. They’re also great in Mediterranean dishes, bean tacos, or as a tangy dip. They’re very versatile!
How can I avoid common mistakes when pickling?
Make sure to sterilize your jars and follow the right vinegar-to-water ratio. Always wear gloves when slicing peppers – it’s a lifesaver!
Do I need any special equipment for pickling?
No! You just need basic kitchen tools like cutting boards, jars, and a pot for the brine. You probably have everything already!
